Tips for Transporting Your Motocross Bike Safely: Essential Guidelines for Secure Travel
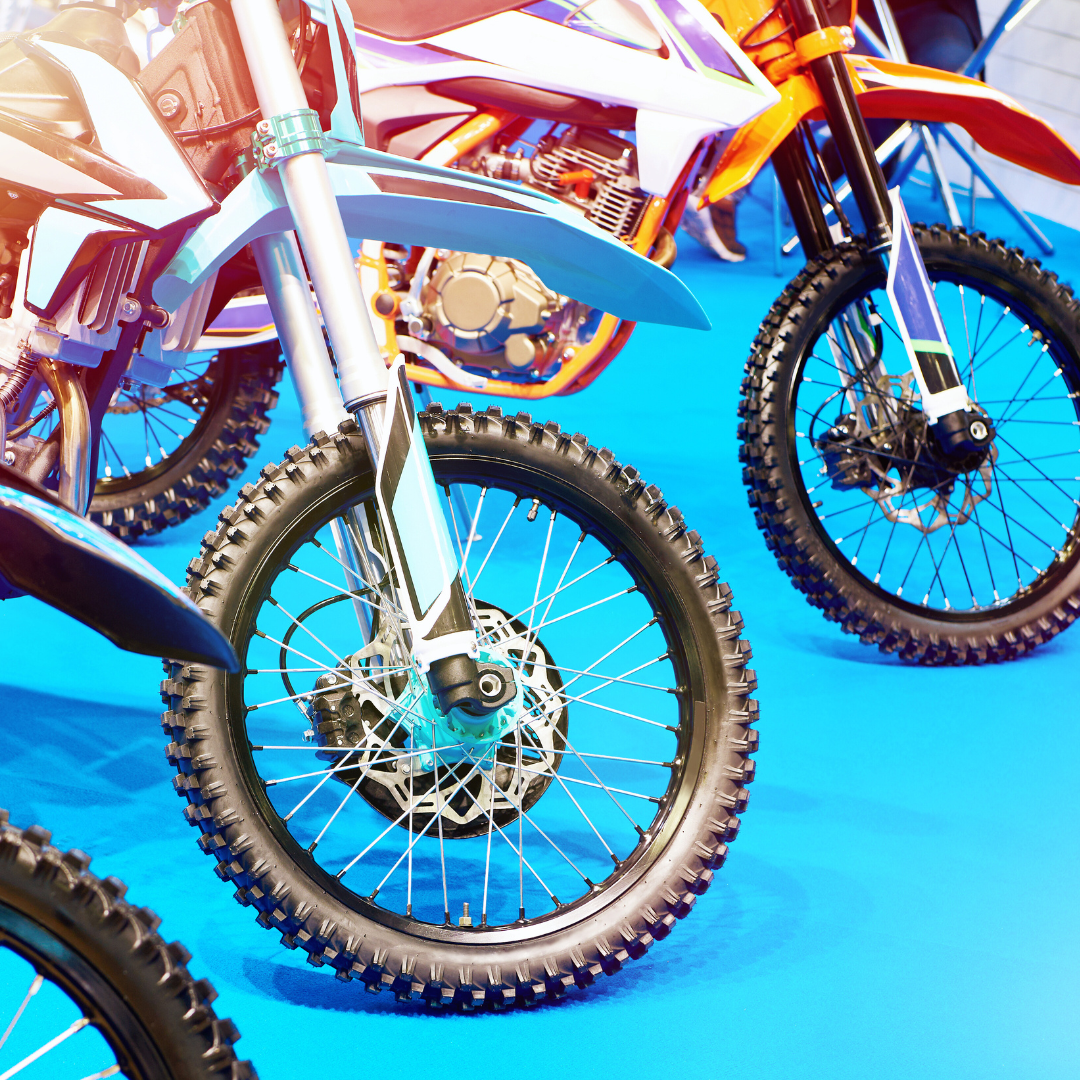
Transporting a motocross bike requires careful planning to prevent damage and ensure safety on the road. Riders who handle loading, securing, and unloading properly can avoid costly repairs and accidents.
The key to safe motocross bike transport is using strong tie-downs, a stable trailer or truck bed, and securing the bike at multiple points to prevent movement. Knowing these basics helps reduce the risk of the bike tipping over or shifting during transit.
Understanding proper techniques for lifting the bike, protecting sensitive parts, and choosing the right equipment makes the process smoother. This knowledge is essential for anyone who wants to transport their motocross bike with confidence and care.
Preparing Your Motocross Bike for Transport
Proper preparation reduces the risk of damage during transport and ensures the dirt bike arrives in the same condition. This involves carefully inspecting the bike, removing any loose accessories, and managing fuel and fluid levels.
Inspect and Document Bike Condition
Before loading, the rider must conduct a thorough inspection. Checking tires for pressure and tread condition prevents issues on arrival. Controls, such as brakes and throttle, should be tested for proper function.
Documenting the bike’s current condition with clear photos is essential. Take pictures from multiple angles, focusing on any pre-existing scratches or dents. This record supports damage claims if problems arise after transport.
Remove Loose Parts and Accessories
Loose components like handguards, mirrors, or aftermarket parts must be removed. These items can shift or break during transit, causing damage or becoming lost.
Secure tools, gear, and accessories separately in a toolbox or container. The frame, handlebars, and suspension should stay free from extra attachments to avoid impact damage.
Reduce Fuel and Fluid Levels
It is important to drain most of the fuel before transport. Carrying a full tank adds unnecessary weight and increases fire risk. A quarter tank or less is recommended.
Check and top off other fluids beforehand—such as coolant and brake fluid—but avoid overfilling. Inspect for leaks and ensure caps are tightly sealed to prevent spills during loading and unloading.
Choosing the Optimal Transportation Method
Selecting the right method to transport a motocross bike hinges on the type of vehicle available, the distance to be covered, and the level of bike protection desired. Options vary from pickup trucks to trailers, each offering specific benefits and challenges.
Pickup Truck Transport
Pickup trucks provide a straightforward way to transport a dirt bike. The bike fits directly into the bed, allowing quick loading and unloading without additional gear.
Proper tie-down straps are essential to secure the bike and prevent movement during transit. Soft loops can protect the handlebars and frame from scratches when tightening the straps.
Using a loading ramp simplifies placing the bike into the truck bed, reducing handling risks. Pickup trucks are best for short to medium distances and when weather exposure is not a concern.
Trailer Options: Open vs. Enclosed
Open trailers are a cost-effective option that allows easy access to the motocross bike. However, the bike remains exposed to weather, road debris, and theft risk.
Enclosed trailers provide full protection from environmental elements and offer added security. They often come with built-in tie-down points and ramps, which streamline safe loading and transportation.
Enclosed trailers require more upfront investment and towing capability. They are ideal for long-distance travel or transporting multiple bikes while maintaining condition.
| Feature | Open Trailer | Enclosed Trailer |
| Cost | Lower | Higher |
| Weather Protection | None | Full |
| Security | Minimal | High |
| Loading Ease | Easy | Depends on trailer design |
| Towing Requirement | Moderate | A heavier towing vehicle is needed |
Hitch Carrier Solutions
Hitch carriers attach to the vehicle’s tow hitch and hold the bike securely outside the vehicle. They offer convenience for quick trips and those without trailers or trucks.
Most hitch carriers fold up for storage and include adjustable tie-down points to stabilize the dirt bike. Weight limits and hitch class must be confirmed to match the motocross bike’s weight.
Hitch carriers expose the bike to weather and road hazards. They work best for single bikes and short-distance transport, where ease of use outweighs protection concerns.
Securing Your Bike Safely During Transit
Properly fastening a motocross bike prevents damage and ensures stability throughout the trip. Key steps include using the right straps, properly positioning wheel chocks, and placing tie-downs to avoid stress on the frame and suspension.
Using Proper Ratchet Straps
Ratchet straps should be rated for at least 1,000 pounds to handle force during transport. They must have soft loops or padding to protect handlebars and the frame from scratches.
Straps are tightened gradually and evenly. Over-tightening can damage suspension or bend handlebars, while too loose straps allow the bike to move. The key is to keep moderate tension without forcing the bike into unnatural positions.
Straps should attach to solid parts like the frame or triple clamps, not plastics or forks. Using two or more straps—typically one on each side of the bike—ensures better balance and restraint.
Installing Wheel Chocks
A wheel chock stabilizes the front tire, preventing side-to-side movement. It should be mounted to the trailer or truck bed securely, using bolts or brackets designed for heavy-duty use.
The front wheel must fit snugly in the chock, with the bike standing upright without leaning. This reduces strain on the suspension and keeps the bike centered during sharp turns or bumps.
Properly installed wheel chocks absorb shocks and reduce the risk of the bike tipping over. Some chocks allow for adjustable widths to accommodate various tire sizes.
Best Practices for Tie-Down Placement
Tie-downs should focus on strong points such as the lower triple clamp, frame, or rear subframe. Avoid attaching straps to handlebars, brake levers, or exhaust pipes.
The angles at which tie-downs pull matter. Aim for a 45-degree angle from the bike to the anchor point on the trailer or truck bed to maximize stability.
Tie-downs must be checked periodically during a long trip to ensure they remain tight and secure. Using complementary accessories like soft loop straps helps protect surfaces from strap damage.
Loading and Unloading Best Practices
Proper handling during loading and unloading ensures the bike remains stable and undamaged. It requires attention to ramp placement, weight distribution, and controlled movements to minimize risks.
Loading Ramp Usage and Safety
The loading ramp must be sturdy, non-slip, and rated for the bike’s weight. It should extend securely from the ground to the vehicle bed without gaps or instability.
Position the ramp at a moderate incline, ideally no more than 15 degrees, to prevent the bike from tipping backward. Inspect the ramp for debris or damage before use.
The rider should maintain a steady speed and use engine power to climb the ramp without sudden bursts or stopping abruptly. Hands firmly on handlebars and feet on footpegs help maintain balance throughout.
Guidance for Solo and Assisted Loading
When loading alone, the rider should position the vehicle so the ramp aligns straight and close to the entry point. Using a portable stand or blocks stabilizes the bike at the top before securing it.
For assisted loading, one person should guide the bike from the rear or side while the rider controls the throttle and brakes. Clear communication and slow, deliberate movements reduce the risk of slips or shifts.
Securing the bike immediately after loading is critical. Straps should be attached to solid frame or handlebar points, avoiding suspension or brake components.
Unloading Precautions
Before unloading, double-check all tie-downs are removed or loosened. The ramp should be clean, correctly positioned, and stable on both ends.
The rider should back down slowly with controlled throttle and brake use. If unloading solo, they should keep the ramp aligned to prevent the rear wheel from dropping off the side.
In assisted unloading, helpers should be ready to catch or steady the bike if it shifts unexpectedly. Communication remains key to ensuring the smooth movement of the vehicle.
Maintaining a steady balance through throttle modulation and body position minimizes potential falls during unloading.


Post Comment